You want a reliable HVAC solution in North Richland Hills that fits your home and budget. Find a licensed local contractor who offers prompt service, clear pricing, and proven repairs or installations to keep your system efficient year-round.
You can avoid long wait times and surprise bills by choosing a company with good local reviews and emergency availability.
Know what questions to ask about warranties, system sizing, and energy efficiency before you commit. Compare a few local options and check recent customer feedback so you get faster fixes and better long-term performance.
Key Takeaways
- Choose a licensed local HVAC pro with clear pricing and fast response.
- Ask about warranties, proper system sizing, and energy efficiency.
- Keep up with routine checks to avoid costly emergency repairs.
Selecting the Right HVAC Contractor
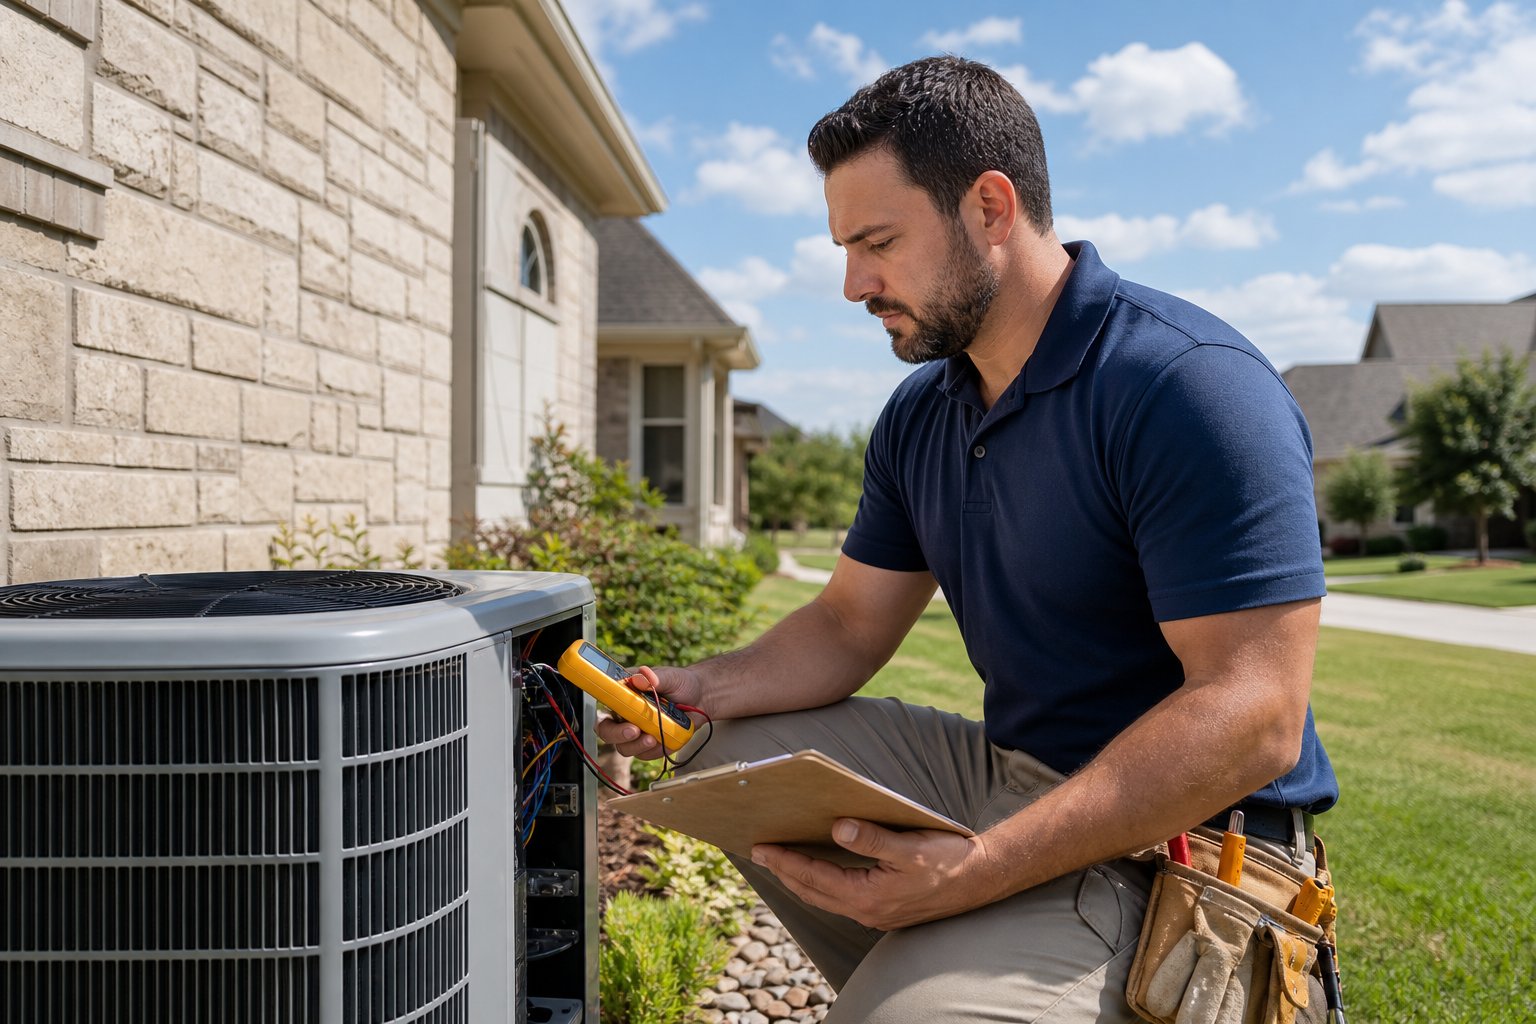
Choose a contractor who proves they can size, install, and service your system correctly. Make sure they offer transparent pricing and protect you with clear warranties and licenses.
Key Qualifications and Certifications
Check for a valid Texas HVAC license and local business registration. Ask for the technician’s EPA Section 608 certification for refrigerant handling and proof of insurance.
These items protect you from liability and improper refrigerant work. Look for manufacturer training or NATE (North American Technician Excellence) certification.
Technicians trained by major brands will follow proper HVAC installation steps. Request current ID, training certificates, and a written list of team members who will work on your home.
Confirm the contractor has experience with your system type, especially if you need a heat pump, packaged unit, or ductwork retrofit. Ask for recent job photos and at least three local references.
If they offer financing or rebates, verify terms in writing before signing.
Comparing Estimates and Pricing
Get written estimates from at least three contractors. Each estimate should list equipment brand and model, SEER or AFUE ratings, exact labor hours, required ductwork changes, permit costs, and a clear warranty for parts and labor.
Compare apples to apples: same equipment rating, same scope of work, same permit and disposal fees. Beware of unusually low bids that skip permits or use refurbished parts.
Ask for an itemized breakdown so you can compare line by line. Check the long-term cost, not just the upfront price.
Higher-efficiency equipment may cost more but can lower your monthly bills. Request projected energy savings and see if manufacturer rebates or local incentives apply.
Keep all estimates for negotiating and for your contractor selection record.
Red Flags When Choosing a Service Provider
Avoid contractors who demand large upfront cash deposits or refuse a written contract. Do not hire anyone who won’t provide proof of license, insurance, or local references.
Watch for vague estimates, pressure sales tactics, or claims like “no permit needed” for full-system installs. Be wary of one-person operations without backup technicians.
If a contractor offers prices far below market, ask detailed questions about equipment age, warranty coverage, and parts origin. If a contractor can’t explain why they chose a specific system size, duct modification, or zoning plan for your home, consider that a warning.
A confident, professional contractor will justify recommendations with load calculations, clear timelines, and written warranties.
Heating and Cooling System Installation
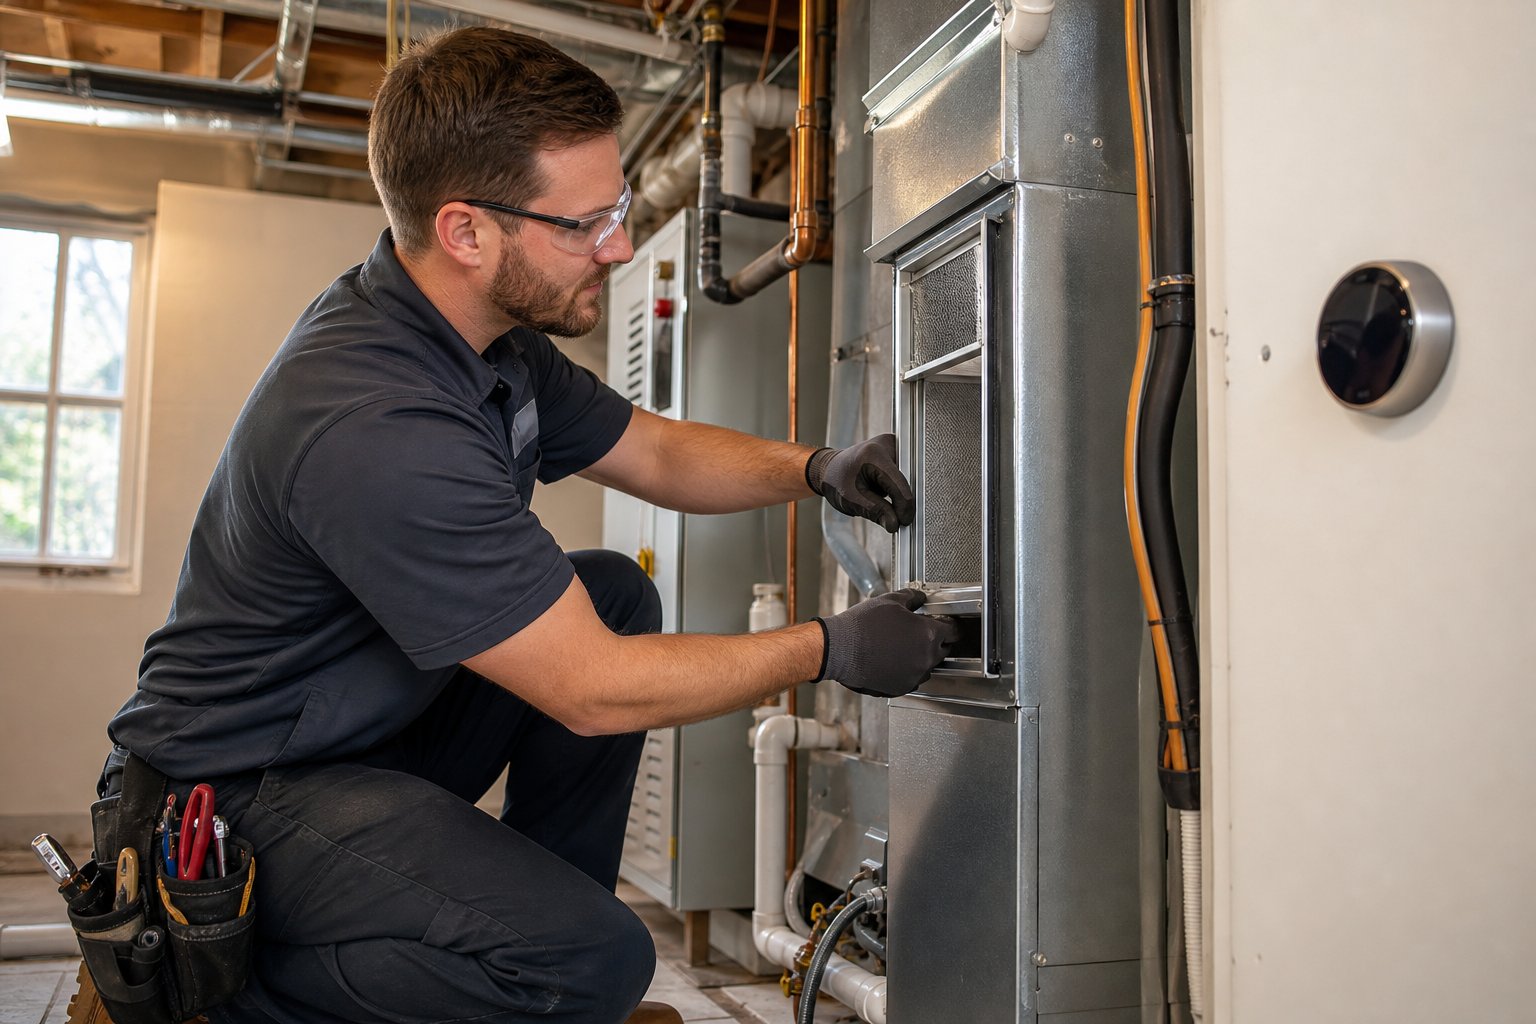
You will learn what to expect during a new system install. Contractors will pick the right size and equipment, and suggest upgrades that save energy and money over time.
Process Overview for New Installations
You start with an on-site inspection where the technician checks ductwork, attic access, electrical panel, and existing unit location. The tech will measure room sizes and note insulation levels so installers can plan duct runs and placement.
Expect a written estimate that lists equipment model numbers, labor hours, and permits. On installation day, crews remove the old equipment, protect floors, and set the new outdoor and indoor units.
Typical steps: install refrigerant lines, connect electrical, mount thermostats, and charge the system. Final steps include a safety check, airflow measurement, and a walk-through that shows you basic controls and maintenance needs.
Plan for 1–2 days for a standard split system. Complex jobs with duct modification or permitting can take longer.
Ask about warranty registration and keep the invoice and model numbers for future service.
System Sizing and Equipment Selection
You must use Manual J load calculations to size a system correctly. Oversized units short-cycle and undersized units run constantly.
A qualified contractor performs Manual J and Manual D (duct design) to determine capacity in tons or BTU/h for your home. Insist on seeing the calculation results before you buy.
Select equipment based on the calculated load, desired efficiency (SEER for cooling, AFUE for heating), and your budget. Higher SEER saves energy but costs more upfront.
Match indoor coil and outdoor unit by model to avoid performance loss. Check refrigerant type — modern systems use R-410A or newer — and confirm compatibility with existing ductwork.
Ask contractors to show estimated annual operating costs for different models. Get a written comparison that lists efficiency ratings, expected lifespan, and included warranties to help you decide.
Upgrades for Energy Efficiency
Consider a variable-speed air handler and a high-efficiency compressor to improve comfort and lower bills. Variable-speed motors adjust airflow, reduce noise, and provide better dehumidification compared to single-speed units.
Pairing a two-stage or variable compressor with a smart thermostat gives finer temperature control. Seal and insulate ducts during install to prevent losses; even a good new system underperforms with leaky ducts.
Add a programmable or Wi‑Fi thermostat and set schedules to cut runtime when you’re away. If you replace an older furnace, choose a high AFUE model and check for ENERGY STAR ratings where available.
Ask about air filtration upgrades and a properly sized whole-home dehumidifier if humidity is a concern. Many installers list these as optional line items; weigh the upfront cost against lower energy use and fewer service calls over time.
Routine and Preventive Maintenance
Regular checks keep your system safe, efficient, and less likely to break. Simple steps—timed tune-ups, scheduled filter swaps, and a yearly contract—save money and extend equipment life.
Seasonal Tune-Ups
Schedule a spring tune-up for cooling and a fall tune-up for heating. Technicians should clean coils, check refrigerant levels, inspect burners and heat exchangers, tighten electrical connections, and test safety controls.
Before the visit, clear 2–3 feet around outdoor units and note any strange noises or uneven rooms. During service, ask the tech to record temperatures across several vents and to measure system airflow.
This shows if the blower motor or ductwork needs work. Expect a written checklist and a parts recommendation.
If your heat pump handles both heat and cool, make sure techs test defrost cycles and reversing valves. Keep tune-up dates in a calendar or on your thermostat app.
Filter Replacement Schedules
Change disposable filters every 1–3 months depending on use and filter rating. If you have pets, allergies, or heavy dust, swap filters every 30–45 days.
High-efficiency pleated filters (higher MERV) trap more particles but can restrict airflow if left too long. If you use washable or electrostatic filters, inspect them monthly and wash or clean per manufacturer steps.
Write the filter size and MERV on a sticker near the furnace or air handler so you always buy the right replacement.
A simple checklist:
- Check filter monthly.
- Replace disposable filters every 1–3 months.
- Clean reusable filters as recommended.
Doing this keeps heating maintenance efficient and reduces strain on fans and heat exchangers.
Annual Maintenance Plans
Buy a maintenance plan that includes two seasonal visits, priority scheduling, and parts discounts. Plans usually cover inspection, cleaning, lubrication, and basic safety checks for furnaces, air handlers, and ACs.
Look for these specifics in a plan:
- Exact list of tasks per visit.
- Response time guarantee for repairs.
- Warranty on labor for a set period.
- Clear pricing for covered and excluded items.
A plan helps you budget and gives priority service during heat waves or cold snaps. It also creates a service history that helps techs spot recurring issues and keeps your heating maintenance documented.
Emergency Repairs and Troubleshooting
You can handle many sudden HVAC problems quickly if you know the usual causes, safe short-term fixes, and when to call a pro. Fast action often stops damage and keeps your home safe.
Common Issues and Quick Fixes
- No cooling or no heat: Check the thermostat settings, batteries, and breaker first. If the breaker tripped, reset it once.
- Unit won’t start but hums: A buzzing outdoor unit often means a bad capacitor or a stuck contactor. Turn off power at the breaker and call a technician.
- Frozen evaporator coil: Turn off the cooling and run the fan. Check airflow by replacing a dirty filter and clearing vents.
- Strange noises or vibrations: Rattles can come from loose panels or duct straps; tighten visible screws. Grinding usually means motor bearing failure and needs same-day service.
- Short cycling or frequent trips: Check refrigerant charge and outdoor unit airflow. Clean debris from the condenser and trim plants 2–3 feet away.
24/7 Repair Services
You should confirm a company’s emergency hours, response window, and pricing before a crisis. Look for firms that advertise true 24/7 dispatch and a stated arrival time, like a 1–2 hour window.
Ask these direct questions when you call:
- Are you available right now and what is your ETA?
- Do you charge an emergency fee and how much?
- Will the technician carry common parts for same-day fixes?
Keep a list of trusted numbers. Many local services in North Richland Hills offer round‑the‑clock help.
Choose one with clear flat-rate pricing and a warranty on emergency repairs to avoid surprise bills.
When to Replace vs. Repair
Decide based on age, cost of repair, efficiency, and safety. If your system is under 10 years and repair cost is under 30% of a new unit, repair is usually sensible.
For systems over 15 years, replacement often gives better long-term value. Consider replacement now if you see these signs:
- Repeated compressor or refrigerant failures.
- Repair estimates exceed half the cost of a new, efficient unit.
- Safety issues like cracked heat exchangers or frequent electrical failures.
If you choose replacement, ask the contractor about permit handling, local code compliance, and efficiency ratings. If you choose repair, request a written estimate, part warranties, and a clear timeline for when the job will be completed.
Optimizing Performance in Older and Modern Homes
You need targeted fixes that match your home’s era and layout. Focus on airflow balance, proper duct sizing, and controls that stop short cycling and reduce energy waste.
Ductwork and Airflow Solutions
Check duct condition first. In older homes, look for gaps, crushed runs, and undersized returns that steal airflow.
Seal visible leaks with mastic or foil tape and add return grills where rooms feel starved. If ducts run through attics or crawl spaces, add insulation to reduce thermal loss.
Measure supply CFM at registers if rooms stay hot or cold. Balance dampers and trim fan speeds to match design airflow.
For many homes, right‑sizing the blower and swapping to a correctly sized filter rack or higher‑capacity return improves performance without a full system change. When installing a new HVAC system, confirm the duct layout matches the manufacturer’s requirements.
Poorly sized ducts force the system to work harder and shorten equipment life. Consider professional testing and balancing for major renovations.
Thermostats and System Controls
Upgrade to a programmable or smart thermostat to cut wasted runtime. Set heating and cooling schedules for when you’re home and use setback temperatures overnight.
Ensure the thermostat sits away from direct sun, doors, and vents to avoid false readings. For zoned comfort, install motorized dampers and separate thermostats for large or multi‑story homes.
Zoning prevents one area from overheating while another is cold and reduces frequent cycling on your heating equipment. Integrate controls with your HVAC installation so the compressor and furnace run in coordinated cycles.
Also check control wiring and the fan relay during heating maintenance. Faulty relays or incorrect fan curves cause short cycling and poor humidity control.
Properly tuned controls extend component life and keep your home comfortable.
Frequently Asked Questions
This section answers common costs, contractor checks, system choices for Texas heat, price drivers for full replacements, and simple rules to help decide repair vs replacement and maintenance timing.
Read each short Q&A to get clear, practical steps you can act on.
How much does a typical AC repair cost in my area?
Typical single-visit AC repairs in North Richland Hills often range from about $140 to $558 depending on the problem and parts needed. Simple fixes like capacitor or sensor swaps tend toward the low end; compressor or refrigerant-line repairs run higher.
Emergency or after-hours calls usually add a service-fee. Ask for a written estimate that separates parts, labor, and any trip or overtime charges.
(Estimate ranges and local details are reflected in regional cost guides such as this HVAC cost overview for North Richland Hills.)(https://www.finalquote.com/hvac/texas/north-richland-hills)
How do I find a reputable HVAC contractor and verify licensing and insurance?
Start by checking online reviews and local business listings to find companies that serve North Richland Hills. Look for firms with recent, detailed reviews and profiles on contractor directories.
Ask each contractor for a state license number and proof of general liability and worker’s compensation insurance before booking work. Call the licensing board or use the contractor’s license lookup to confirm the license is active and matches the business name.
Get at least three written quotes with the same scope of work. Compare warranties, brands, and estimated timelines in addition to price.
Which HVAC system types and efficiency ratings work best for Texas heat?
In North Richland Hills, high-efficiency central air systems and properly sized heat pumps handle Texas summers well. Look for SEER ratings of 16 or higher for good seasonal efficiency; 18+ SEER gives better long-term savings if you plan to stay in the home.
Quality duct sealing and proper installation matter as much as the equipment rating. Consider variable-speed compressors and smart thermostats to improve comfort and lower runtime.
What factors most affect the price of a full HVAC replacement (install + equipment)?
Equipment size and efficiency rating drive a large share of the cost; larger homes need higher-capacity units. Ductwork condition, required modifications, and whether you need new gas lines or electrical upgrades add significant labor and materials costs.
Permits, local inspection fees, and disposal of the old unit also add to the total. Brand choice and extended warranties will push the price up, while off-season scheduling can sometimes reduce labor rates.
What does the $5,000 rule mean for deciding between AC repair vs. replacement?
The $5,000 rule suggests that if repair costs approach or exceed $5,000, replacement is often the smarter choice. That threshold usually means the system is near end-of-life or needs major components that won’t deliver much more reliable service.
Use the rule with system age: for units older than 10–12 years, spending thousands on repairs rarely pays off compared to installing a new, more efficient system.
What is the 20 rule for HVAC maintenance and system lifespan?
The 20 rule says that if annual maintenance saves you roughly 20% in repairs and improves efficiency, it’s worth doing.
Regular tune-ups—filter changes, coil cleanings, refrigerant checks—will help systems run 20% closer to peak performance and reduce breakdowns.
Expect 12–15 years for standard central AC and up to 20 for well-maintained systems.
If your system is past that range, plan for replacement even with ongoing maintenance.